Page
Pages in Garchi CMS represent full web pages. They have:
- Title - Used in meta tags
- Description - Used in meta description
- Path - The page URL slug
- Image - This is optional and could be used for og:image property
Getting Page details
Use the Page API to get page data:
POST /api/v2/page
Pass the following parameters to the page api.
{
    "slug" : "Path of the page",
    "space_uid": "The uid of the space",
    "mode": "draft or live preview",
}
Make sure to include your generated API token as a Bearer token.
Please see here for detailed API usage.
Managing a page
To create a new page:
- Go to Content -> Pages
- Click Add new page (or Create your first page if the Space has none yet)
- Enter a title, description, and slug. You can also upload an image which could be used as og:image.
- Click Save changes.
- Click Edit content on the page to manage its sections.
- Populate section content.
- Publish when ready.
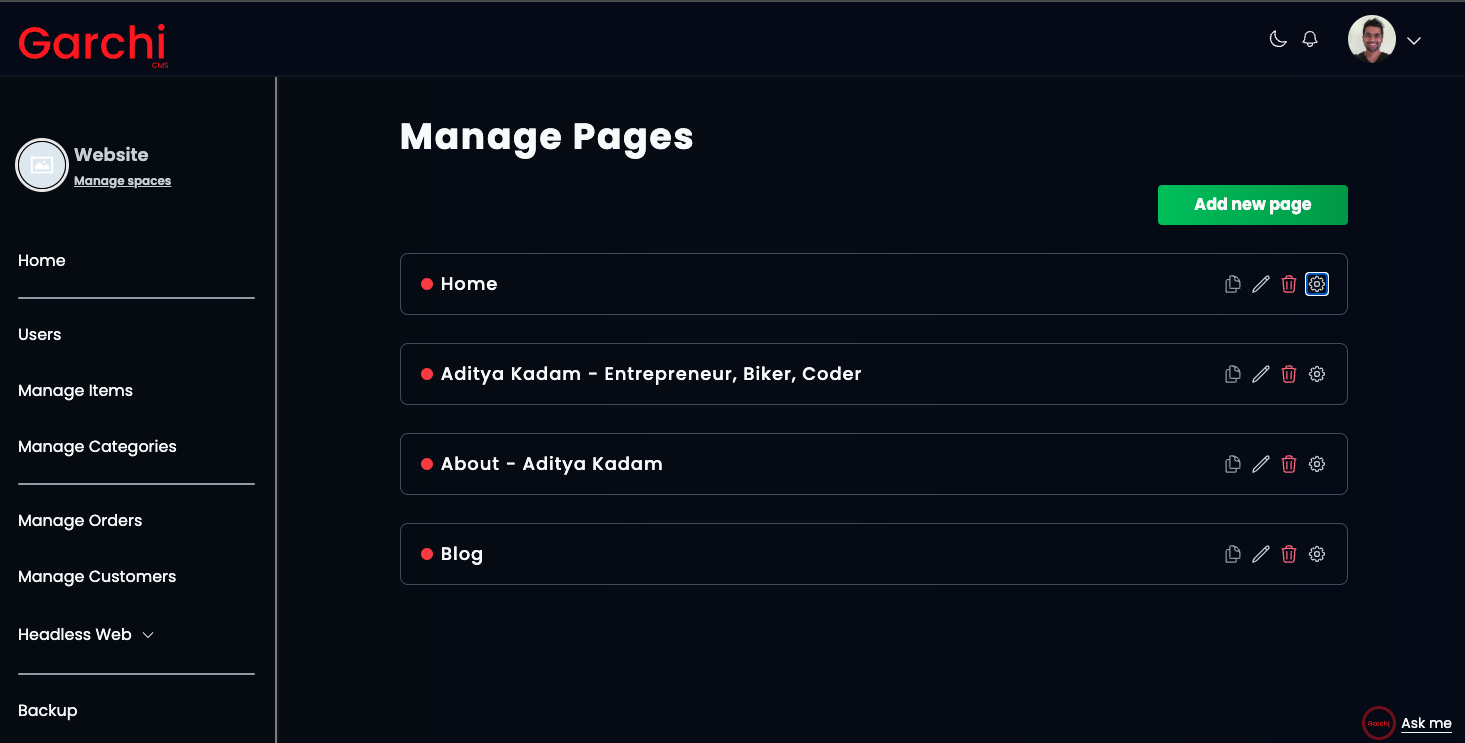
The Pages list
Each page is listed with its slug and a badge showing whether it is Live or still a Draft. Use the search box to filter by title when a Space has a lot of pages.
Every page row has:
- Edit content — opens the editor, where you add and fill in sections
- SEO & settings — opens the page's own settings, described below
- A copy icon to duplicate the page, with all of its sections
- A bin icon to delete the page
SEO and settings
Click SEO & settings on a page, or click its slug, to open the panel holding everything about the page itself:
- URL slug — where the page lives, starting with a slash. Use
/for the home page. - Page title and Meta description — what search engines and social sites show.
- Social preview image — used for
og:image. - JSON-LD structured data — optional, for search engines.
- AI agents — a description connected AI tools can use to understand what the page is for.
Click Save changes when you are done. Earlier drafts of the page are listed in the same panel, and from Draft history at the top of the Pages list, so you can restore one if you need to.
Usage example
Here is an example fetching and using page in Nuxt 3.
Assuming that pages/index.vue is your website's home page, there will be a setup similar to this
<template>
    <Head>
        <title>{{page?.title}}</title>
    </Head>
    <component :is="componentList[section.name]" v-for="section in page.sections" :key="section.id" />
</template>

<script setup>
import {Navbar, HeroSection, RestOfYourComponentsForThisPage} from "#component"

const componentList = {
    Navbar: Navbar,
    HeroSection: HeroSection
    ...
}
const {data:page} = useFetch('https://garchi.co.uk/api/v2/page', {
    method: "POST",
    body: {
        slug: "/",
        space_uid: "your_space_uid",
        mode: "draft"
    },
    headers: {
        Authorization: "Bearer your_token"
    }
})
</script>
In this case the API should return all the details related to the page. This is just one design pattern of using a dynamic component but all we need to do is pass on the data from the API to the components.
Previewing and Publishing Pages
Garchi CMS offers a draft and live mode for pages:
Draft Mode When retrieving page data using the Page API in draft mode, you will see unpublished changes in realtime.
This allows you to preview content before it goes live.
For example:
POST /api/v2/page

{
  "mode": "draft"
}
Draft mode always returns the latest saved changes to a page, even if it is not published yet.
Live Mode Using the live mode in the Page API will only return published content.
For example:
POST /api/v2/page

{
  "mode": "live"
}
In live mode, you will only see changes after a page is published. Unpublished edits will not be visible.
This ensures your live site only displays public content.
So in summary:
Use draft mode to preview unpublished changes Use live mode for production traffic to get the current public version